How To Pack A Cooler – Basic Cooler Packing Hacks 2025
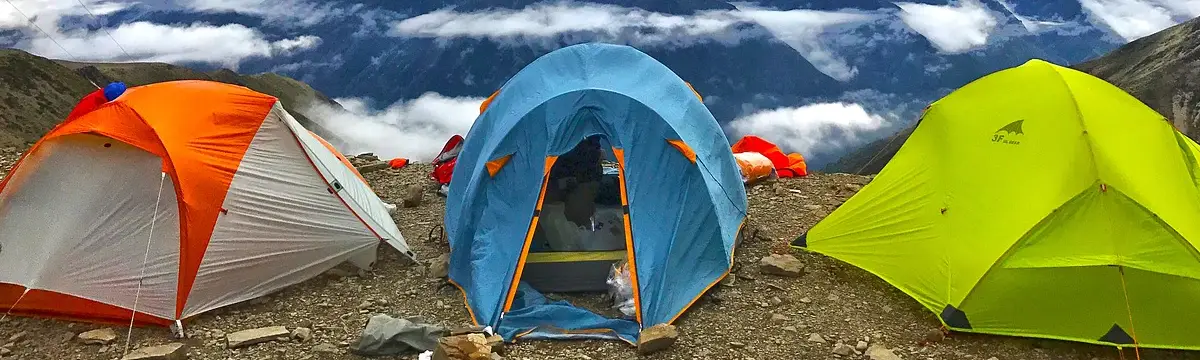
Are you an adventure enthusiast? Do you love spending time outdoors? If your answer was a “yes,” I’m sure you love camping, hiking, and many other outdoor activities. You may enjoy these more if you have a cooler in hand. Whether camping, going on a road trip, or just enjoying time out and away from the usual home and work, a cooler comes in handy every time. Yet, if you own a cooler, you must also learn how to pack a cooler correctly, too.
But before learning how to pack a cooler, you should know many other things. What’s the best kind of cooler for your needs, how to organize a cooler, the best way to pack a cooler according to your trip, etc., are only a handful. From today’s article, we will gratify all these questions surrounding owning a cooler.
Hold on with us until the end of this blog post, and we’ll clarify all the questions and doubts you might have regarding this topic.
So, without further ado, let’s dive in.
What Is The Best Cooler For You? How To Choose Accordingly?
There are so many types of coolers. But not all of these suit everyone’s needs. So how do you decide what’s best for you?
These coolers differ in material, technology, and size. You can split the materials used into two groups
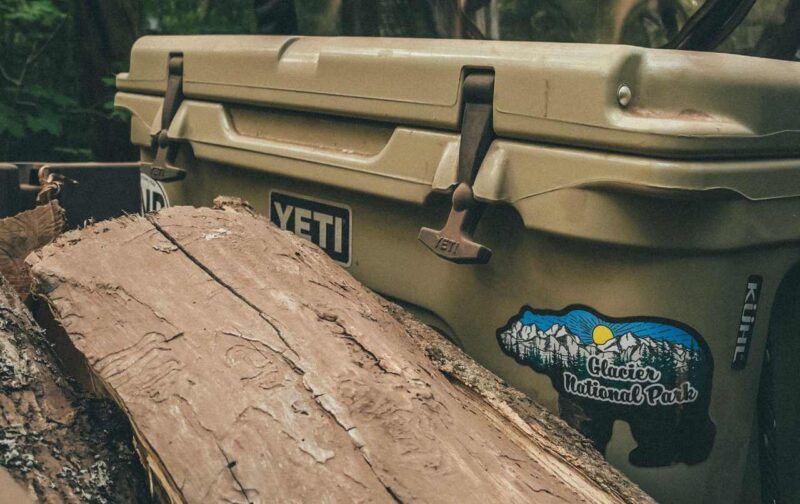
- Hard materials such as hard plastic, metal, and Styrofoam.
- Soft materials are mainly canvas, polyester, vinyl, and cotton.
Choosing one of these two types entirely depends on your need and the occasion you use the cooler.
If you need a cold cooler for more than 24 hours, such as for a road trip, it’s better to go for one with hard material. But, if your need suffices after a few hours, you could choose a cooler made with soft materials.
Most of the time, the technology used in cooling the machine or maintaining the temperature is equally essential. Primarily, there are three types of technology used in modern coolers.
Coolers With Compressed Gas
These coolers are like walking fridges. They need electricity to function, and you can choose between the ones you need to connect to a power outlet of your vehicle or one with a built-in battery system. If you are traveling by RV you should choose the best RV battery. In this category, there are two types of food coolers.
Portable Refrigerators
These are the best for BBQs, road trips, tailgating, and camping. They don’t freeze the food but keep them cold until it’s time to use it. Moreover, this type is just superb to keep drinks cold.
Portable Freezers
Electricity usage of these coolers is the same as the portable fridges yet costs a bit higher. But that extra cost is worth it when considering that these could work both as freezers or refrigerators and cool down pretty faster. Further, it’s the most desirable if you want to freeze meat or make ice cubes
Thermoelectric Coolers
These cool boxes keep food fresh using a Peltier plate module. They drop the temperature inside the box when you power up the Peltier module using a 12v power supply. Even though they are compact, cannot freeze up food, and are low in efficiency, these cool boxes are suitable for small events such as an outdoor family get-together or a picnic.
Cool Boxes With Heat Insulation
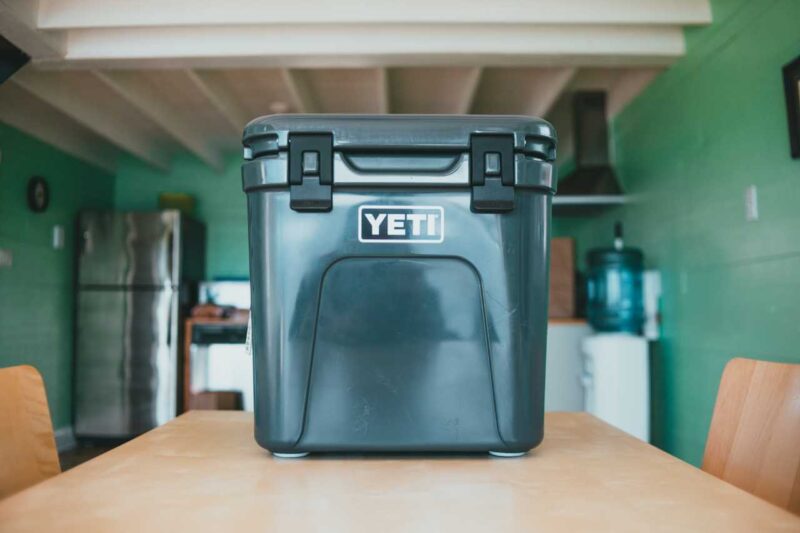
Heat-insulated coolers are the most popular among people. All you have to do is pack some ice inside the box and fill it with food. Due to the heat insulation, the low temperature inside the container will not leak outside. The best examples of this are wooden/plastic coolers and Styrofoam boxes. They are cost-effective and do a perfect job of keeping our food cold for 12 to 24 hours.
Size/capacity, portability, usage type, durability, temperature, power source, cost, etc., are other factors you must consider before buying a cooler. If not, you will face many unnecessary problems, especially with the power source. Additionally, portable cooler boxes must be easy to travel with
How To Properly Pack A Cooler.
If you’re a proud owner of a cooler, you should become an expert in packing it. Whether you’re searching for the best way to pack an ice chest for camping, how to pack a cooler for a road trip, or pack a cooler with drinks, it all depends on the occasion, the size aid of the cooler, and the types of food.
Now let’s look at some best practices in packing coolers in different situations. We guarantee that if you stick until the end, we’ll give you all the knowledge you need to pack a cooler properly.
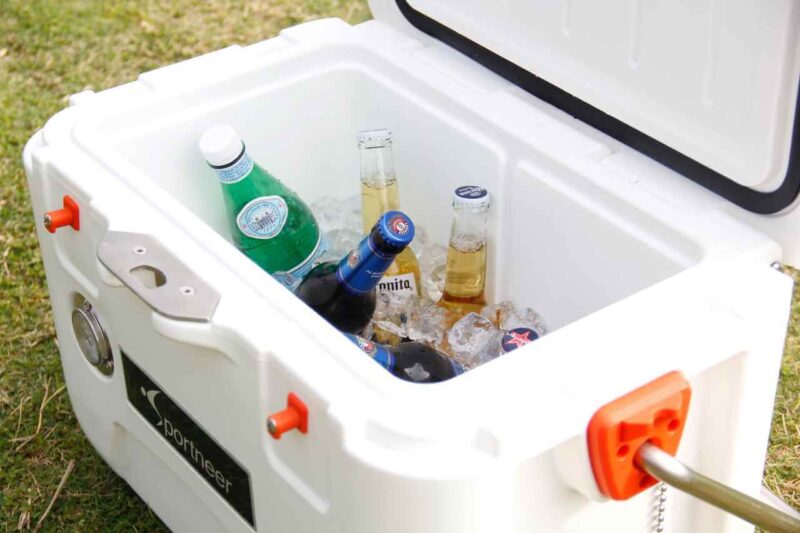
How To Pack A Cooler With Drinks
The beverages taste superb when the drinks are chilled. So if you’re packing a cooler box with drinks, you must ensure that ice can reach all your bottles. Therefore the best way to pack beverages in an ice box is in layers.
First, make sure the cooler is cold before you start packing. Keep the bottles on the bottom and fill them with an appropriate amount of ice. After stacking the next layer on top of them, fill the box with ice cubes, and you’re done.
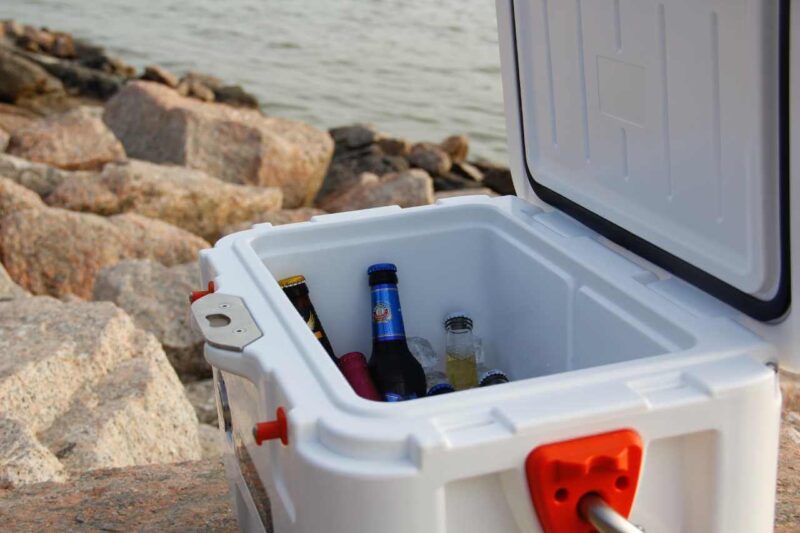
How to Pack a Cooler With Beers
You need beer bottles, ice cubes, and some rock salt for this. We are using rock salt to lower the freezing point of ice. It will ultimately create a cold bath for the bee
First, arrange the beer bottles horizontally on the bottom of the box. But make sure that there are spaces between each bottle. The ice cubes must reach between the bottles. After, spread out some rock salt on top of that. Then repeat these steps until the cooler is packed full.
Whenever you decide to use a cooler, whether electric or not, always ensure it stays closed, and do not open it unless you need to. It will prevent warm air from getting inside the box.
How To Pack A Cooler With Cans
Everybody loves soda. Any outdoor party will fail if there are no cold cans of soda. But how do you keep them cold and chilled if you’re outside? Let us tell you how to pack a cooler.
When packing cans in a cooler box with ice, start filling the box with soda cans. Place them straight and upright. After completing the first spread, fill them up with ice but make sure you can stack more cans on top of the bottom layer. After the ice is properly distributed, lay down the second batch of sodas.
Repeat stacking up cans on top of each other. Then fill the rest of the vacant place with ice to the brim. Moreover, ensure the top layer of ice cubes is thick. Thereby, whenever somebody takes a can out, they’ll have to clear some ice aside, and the thick ice layer will fill back the void the missing can create.
How to use Cooler With Dry Ice? What’s Better, Wet Ice Or Dry Ice?
As we explained in the discussion above, cool boxes with heat insulation are the most popular type of travel coolers. But when packing this box, you must first make a hard choice. Which kind of ice are you going to use to fill it?
Mainly there are only two types of ice; dry ice and wet ice.
Which ice is better and most efficient?
We explained how to pack a cooler with beers, cans, etc., yet we didn’t specify which ice to use. You should choose the ice according to the occasion and the type of food you’re packing.
Generally, wet ice always makes the cooler a mess at the end of its time. When it melts, it will sometimes soak up your food. But dry ice doesn’t melt but evaporates. The only catch is that you must be very careful when handling dry ice. It’s better if you can wear some insulated gloves. Moreover, it lasts longer than wet ice.
Let me make this easy for you. You could go with wet ice if you only use the cooler for several hours. But don’t put anything right on top of the ice that could get soggy.
Secondly, if you need the chill of the cooler food storage for a prolonged time, you better opt for dry ice.
The next question is how to fill a cooler with dry ice.
The best way to pack a cooler with dry ice is to pile some stacks of dry ice at the bottom of the box. You don’t have to remove its cover necessarily. After that, insulate it further with a proper material such as cardboard, newspaper, or even bubble wrap. When you’re done, you can fill up the rest of the cooler food storage with food and beverages you want to keep chilled.
Dry ice can keep chilled/frozen for up to 72 hours. It’s the best way to pack an ice chest for camping, road trips, and trips that span several days.
Tips For Packing Coolers On Different Occasions
We use coolers on various occasions. Sometimes, it might be road trips, camping, or tailgating. On another occasion, you’ll have to learn how to organize a cooler for a daycation, a beach trip, or an outdoor family get-together. You’ll be packing a cooler for a picnic or a short day out at an entirely different time.
Extra Tip: For a beach, trip don’t forget to grab sunscreens, sunglasses, beach towels and a beach umbrella explicitly made to endure heavy winds.
Yet the way you should pack for these varying locations are different from each other.
How To Pack Cooler For Camping
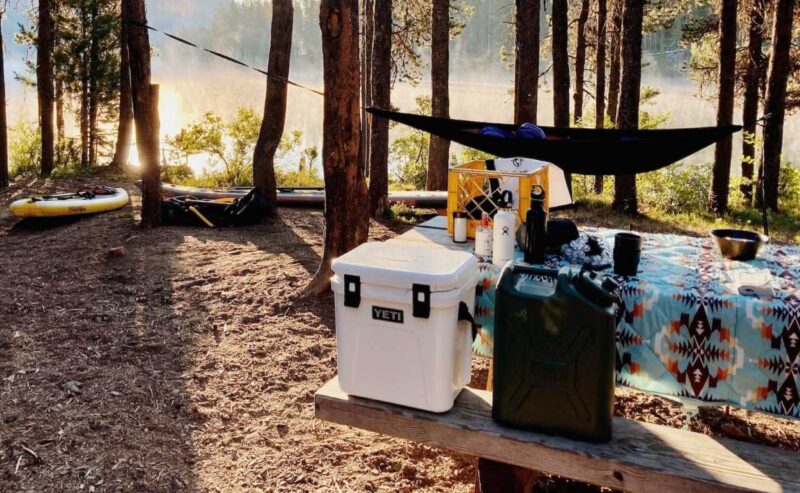
Any adventurous outdoor lover enjoys camping. These camps could go on for several days. If you have an electric cooler or one with a battery, you have nothing to worry about. But if you’re using insulated cooler food storage, you have to think about the ice, the way you organize the cooler, and how to file a cooler for a camping trip. Because these trips stretch for more than one day, the best method is to go with dry ice for cooler food storage.
Let me explain the best way to pack an ice chest for camping.
First, lay down the ice blocks on the bottom. You can use some food racks to keep the food from getting wet and soggy. Put down the meats/proteins very next to the ice blocks to keep them frozen. Don’t forget to pre-freeze them before packing, and also make sure to seal them.
On the next layer, you can fill your dairy products. Same as earlier, don’t forget to use sealable containers so you won’t mess up your cooler. Complete the top and last layers with fruits, vegetables, and greens. You may use different containers for these.
Then seal off the box with a foam layer and close the lid. You’re all set for your camping trip!
How To Pack A Cooler For A Road Trip?
If you are wondering how to pack a cooler for a road trip, you could use the same method we used while packing for camping. But please store almost everything frozen previously to extend the frozen time. Because ice blocks melt away slower than ice cubes, it’s better to use block ice or dry ice if possible. Frozen gel packs will also work.
If possible, keep it inside your vehicle with ac and not in the boot. For further insulation, cover it up with a bath towel.
How To Pack A Cooler For A River Trip Or A Quick Day Out?
No matter how long or short the trip, all we want is to keep food frozen and fresh. If your river trip is an overnight adventure, some wet ice cubes or plates will do just fine. The same applies when you’re also going out for a short day. If the trip is longer than one day, you may follow the same steps mentioned above in how to pack a cooler for camping and how to pack a cooler for a road trip.

How Do You Pack The Cooler With Ice?
For heat-insulated boxes, you need to add ice separately. But how to pack a cooler with ice packs to get the maximum cold for a prolonged time? What is the most efficient way to pack a cooler?
Let’s explore.
Do you put ice on top or bottom of the cooler?
If you’re using dry ice to keep your cooler working, you’ll only have to stack them on the bottom of the case. But be sure to insulate further after filling the box with food.
When you’re thinking about packing a cooler with ice, do you put ice on top or bottom of cooler? Deciding whether to put ice packs on top or bottom of the cooler solely depends on what you store inside. If you’re packing meat, you must stack layers of ice packs on the bottom and top of the case.
If it’s beer or soda cans, the easiest and most efficient way to pack the cooler is with ice cubes. You can easily reach the small spaces between the bottles and cans with cubes.
If you have vegetables, fruits, and other fresh products, please only pack wet or dry ice packs on the bottom of the chest.
There you go. Now you know how to pack the cooler with ice and when to put ice packs on top or bottom of the cooler.
Cooler Packing Hacks And Handy Cooler Tricks
- Line Up With Aluminized Bubble Wrap – This reflective wrap will ensure an added layer of insulation inside your cooler. It’s one of the handy cooler tricks that’ll help last your ice longer, especially when using wet ice.
- Use Cooking Racks – You cannot stop ice from melting. Even if the meltwater is freezing cold, it can quickly make your food a soggy mess. So, create a liner using your everyday cooking racks. Then you can guarantee your dry food stays dry throughout your trip
- Pre-Freeze Before You Store – If you can, pre-freeze anything and everything you could freeze before storing them inside the box. This way, the ice will melt slower, and the temperature inside the cooler will remain for a long time. You can do the same with beverages as well.
- Use Every Bit Of Space – Excess space inside the cooler will lower the temperature inside the cooler pack faster. Therefore try to use up every bit of space in your box as much as possible.
- Seal It Off – Use a foam layer for sealing the pack after you stack up all your food. An extra layer of insulation won’t do any harm.
So, here are the best ways to pack our cooler on different occasions and some bonus tips to help you during the process. Packing a cooler is not that hard if you do it correctly. With that, We’ll see you next time with another excellent article for our travel lovers. Until then, goodbye!
Share this article

Written by : sanjeewagow
Follow us
Latest articles

July 3, 2025

July 3, 2025
July 3, 2025